
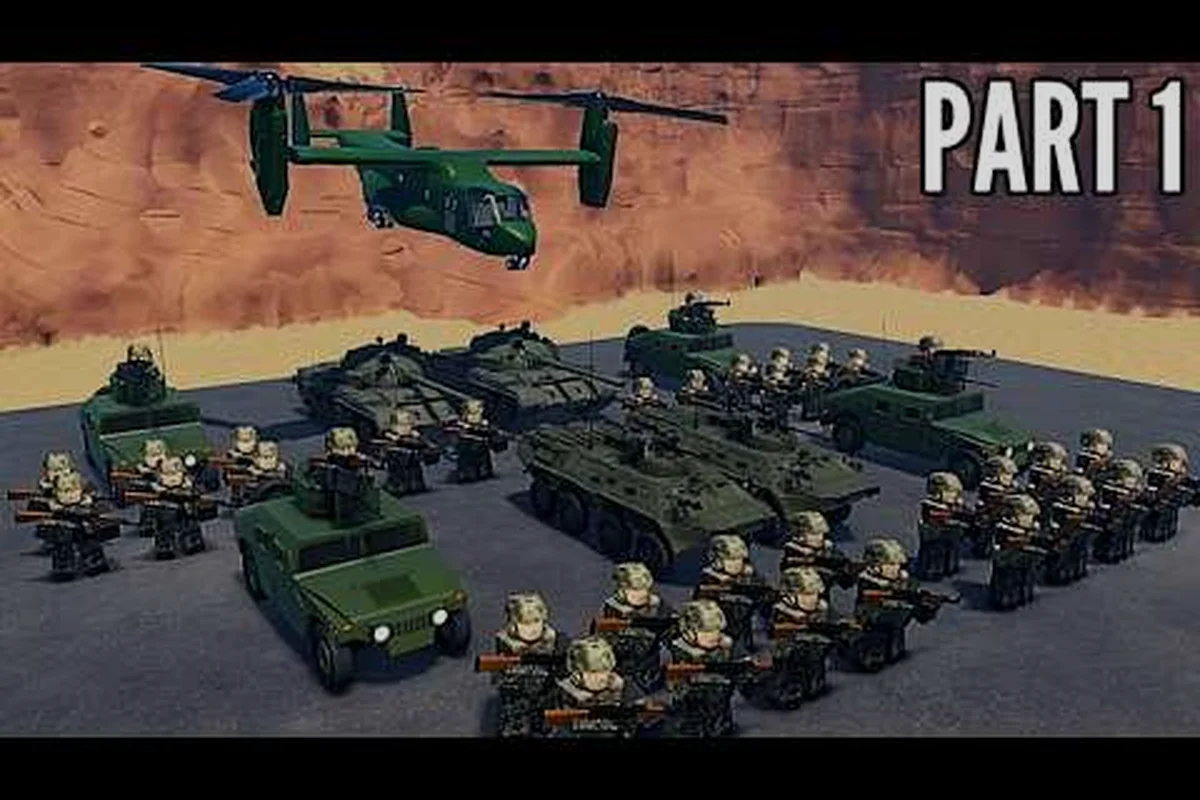
Military Army Tycoon control points are the capturable flag zones scattered across the game's open map, and every squad you raise or weapon you unlock ultimately feeds into one goal: owning more of that territory. According to the official Military Army Tycoon Roblox page, players "send troops to capture strategic locations" as a core progression loop, which means your expansion order is just as important as your base layout. This guide maps every control point, ranks the income each flag actually pays, and gives you a real order of operations for how to expand territory without burning your squad on a flag you can't hold.
How the Military Army Tycoon Control Point System Works
Before you sprint toward the first flag you see, it helps to understand what a control point actually does on the Military Army Tycoon map. Each control point is a capturable zone tied to a flag pole, and once your squad stands on it long enough to trigger a capture, the flag color flips to your team and a passive income stream activates. The deeper into enemy territory you push, the higher the per-tick reward, but the more contested the zone becomes.
What Counts as a Control Point
A control point is any flag location on the open map that is not your home base. The starting base sits in a fixed corner of the map, and every other flag pole qualifies as a control point you can contest, defend, or raid. Community showcases such as the maxed-base walkthrough by OTTER ON ROBLOX confirm that veterans treat every control point as a permanent income source once locked down, not a one-time reward. The capture itself is a short channel where your squad must out-damage or out-last the defenders, and the flag swaps once the bar fills.
Income Scaling Per Flag Tier
Not all flags pay the same. The Military Army Tycoon map is built around a tiered income model where outer flags drip-feed small amounts while inner flags pour cash into your treasury. Based on community testing, the three rough tiers look like this:
| Flag Tier | Approximate Distance from Your Base | Per-Tick Cash | Contest Frequency |
|---|---|---|---|
| Outer | Near the map edge, adjacent to your spawn | Low (baseline income) | Rarely contested |
| Mid | One or two map sections inward | Moderate (roughly 2x outer) | Frequently contested |
| Inner / Center | Deep in enemy territory, often near squad hubs | High (roughly 4x-5x outer) | Always contested |
The exact multipliers shift with patches, but the ordering stays consistent: the further you push, the larger the multiplier, and the harder other players will fight to take the flag back from you. That trade-off between income and defense is the entire territory game in a single line.
Why Control Points Matter for Your Money Multiplier
Your in-game cash engine is split between your base's pump jack, oil container, and money multiplier, and the control point layer stacks on top of that engine rather than replacing it. A player who owns the center flag with a 4x squad and a maxed oil container will out-earn a player running the same base on the outer ring with a Tier 1 squad. The control point map is essentially your long-term income ceiling, and the territory guide mindset is to treat every captured flag as a permanent multiplier on every other system you have already built.
The Full Military Army Tycoon Map and Flag Layout
The map is split into clearly defined zones, and each zone contains at least one capturable flag. Memorizing the geography saves you from wandering into a dead-end chokepoint while a rival squad flanks you from behind. The community map consensus, visible in walkthroughs like the Spidex Blox max-base build, breaks the open world into roughly five flag regions.
Spawn Safe Zone and Starting Base
Your home base is technically not a control point, but it sits inside a small protected ring where PvP damage is either nullified or heavily reduced. This safe zone is where your pump jack, barracks, and money multiplier live, and it is also the respawn point whenever you die capturing a contested flag. New players should treat this ring as untouchable territory, and the only reason to leave it in the first 15-20 minutes is to scout the two nearest control points for an early income bump.
Outer Control Points (Low-Risk, Low-Reward)
The outer ring is where most beginners cut their teeth. These flags sit one or two jumps from the safe zone, and they usually pay a baseline amount that won't break your economy but will give you a reliable drip while you build out your squad. Expect to find one outer flag roughly north, one south, and one toward the map's most open flank. The north flag is often the easiest first capture because the path from spawn is the shortest and the contest traffic is the lowest at server start.
Mid-Tier Control Points (Balanced Income)
The mid ring is the real game. These flags sit one full map section inward from the outer ring, and they are the first zones where your squad tier starts to matter. A Tier 1 squad can take a mid-tier flag, but a Tier 2 squad will hold it. The income here is the meaningful multiplier jump, and most veterans recommend capturing at least two mid-tier flags before pushing deeper. The east and west mid flags are usually the easiest to chain because they share a relatively safe path along the map's edge.
Inner Control Points and the Center Flag
The inner ring is where the map funnels into a tight cluster around the center flag, and this is the territory that defines a serious player. The center flag is the highest-paying control point in Military Army Tycoon, but it is also the most contested because every other player on the server wants it. A typical inner-ring capture requires at least a Tier 3 squad, a top-tier weapon loadout, and a backup plan for when an enemy raider shows up 30 seconds after you finish capturing it. Holding the center flag for any sustained window is a status symbol in the community, and it is the single biggest income boost you can stack on top of your base economy.
Side and Bonus Flags
Beyond the main rings, the map also contains a few oddball flags in side corridors and elevated positions. These bonus flags usually pay mid-tier income but are easy to overlook, which makes them excellent "sleeper" picks for solo players who want a quiet multiplier without entering the center bloodbath. According to player reports, side flags are also the most commonly raided because their defenders tend to be under-equipped, so plan to reinforce them with at least one defensive squad.
How to Expand Territory in the Right Order
The fastest way to lose everything is to sprint straight for the center flag with a Tier 1 squad. The correct expansion order is a layered push: outer, then mid, then inner, with defense checkpoints between each push. This rhythm protects your income while you scale.
Phase 1: Capture the Two Nearest Outer Flags
In your first 10-15 minutes, ignore the center and the mid ring entirely. Walk out of spawn, capture the north outer flag, then loop around to whichever outer flag is closest to your base. Holding two outer flags gives you a small but stable income stream that funds your first squad upgrade and your first weapon purchase, which is the actual bottleneck at this stage. Trying to hold more than two outer flags early is a common mistake because you spread your squad too thin and lose all of them to a single raider.
Phase 2: Push One Mid-Tier Flag with a Reinforced Squad
Once you have a Tier 2 squad unlocked and a mid-tier weapon equipped, pick one mid-tier flag to push. The east mid flag is usually the smartest first pick because it sits closer to your spawn than the west mid flag, which means shorter respawn runs when you die contesting it. Capture it, park one full squad on the flag for defense, and let the income roll. The reason you only push one mid flag at this stage is that your second squad is still climbing tiers, and you need it as a mobile reserve to respond to raids on the outer flags you already own.
Phase 3: Chain the Second Mid Flag and the First Inner Flag
With one mid flag banked, the second mid flag becomes much easier because the first mid flag's income funds your Tier 3 squad upgrade faster. By the time you hold two mid flags, your base income is high enough that you can afford the inner-ring push. The first inner flag you should take is the one closest to your existing mid flag, because that creates a connected territory chain that is much easier to defend than two flags on opposite sides of the map. Once you have a connected chain, the defense reads itself: enemies have to push through your mid flag before they can threaten your inner flag, and that chokepoint is where your squad earns its keep.
Phase 4: Contest the Center Flag for the Crown
The center flag is the final boss of the territory game. You need a max-tier squad, your best weapons, and ideally two or three owned mid/inner flags feeding you income while you contest it. The center flag is rarely held for an entire session because every other maxed player on the server will swing by to fight you, but even holding it for 10-15 minutes usually pays out more cash than an entire hour of outer-flag farming. Treat the center flag as a raid boss, not a permanent home, and reset your expectation that you will hold it indefinitely.
Reading the Map and Rotating Defenders
Defending the flags you already own in military army tycoon control points is the real pressure test of any territory guide, and the rotation pattern you use to keep defenders fresh is what separates a serious player from a one-push wonder. A common cycle is 1-1-2: one defender holds the control point while a second roams, and the third rests on a 30-second cooldown before swapping in, so the enemy squad never faces a fully manned garrison at the same time. Pair that rotation with squad chat callouts whenever an enemy approaches the flag radius, and the defending side trades far fewer tickets during the late-game territory war.
| Rotation Pattern | Defenders on Point | Roaming Defenders | Resting on Cooldown | Typical Cooldown | Best For |
|---|---|---|---|---|---|
| 1-1-2 Cycle | 1 | 1 | 1 | 30 seconds | Standard flag defense with 3-player squads |
| 1-2 Static | 1 | 0 | 0 | N/A | High-traffic chokepoint control points |
| 2-1-1 Aggressive | 2 | 1 | 1 | 20 seconds | Contested flag radius during territory war |
| Lone Hold | 1 | 0 | 0 | N/A | Peripheral military army tycoon control points |
| Full 4-Manning | 4 | 0 | 0 | N/A | Center flag and maxed-base income chokepoints |
Defensive Squad Placement
The default reaction is to leave your entire squad parked on every flag you own, but that is a fast way to lose your home base to a single coordinated raid. A better pattern is to leave a single defending squad on each owned flag, keep one full squad in reserve near your base, and rotate the reserve squad out to whichever flag is currently under attack. This works because the flag income keeps flowing even when you are not standing on it, and your defenders only need to be present when an actual contest begins.
Map Awareness and Respawn Routing
Every death on a contested flag sends you back to spawn, and the path back to the flag determines whether you rejoin the fight or arrive too late. Before you commit to a capture, trace the respawn route in your head: from your base, can you reach this flag in under 30 seconds, or are you going to spend 90 seconds jogging across the map while a rival squad locks down your territory? Outer flags always have the fastest respawn routes, and the center flag has the slowest. That is another reason to build outward first: every flag you own closer to spawn shortens the round-trip for every flag further out.
Reading Raid Timing
Raiders tend to hit when they spot an empty flag, so the most predictable attack window is right after you rotate a defender out. Experienced players counter this by leaving a single squad member on the flag as a "flag sitter" while the rest of the squad rotates, which keeps the income ticking and forces raiders to commit to a longer fight. The exact timing shifts per server, but the pattern is consistent: maintain a constant presence, and the raid window shrinks.
Common Mistakes That Stall Your Territory Expansion
Even players who understand the Military Army Tycoon map often sabotage their own expansion by ignoring simple rules around control points, flags, and territory pacing. They rush the outer ring, claim a few flags without holding them, and then wonder why their territory border never pushes inward — the real expansion only kicks in once you stabilize control points inside enemy territory and chain flag captures across multiple regions. These are the small, repeatable mistakes that keep you stuck on the perimeter when you should already be contesting the central bases.
Overextending Before Your Squad Is Ready
The single biggest territory-killing mistake is pushing for the center flag with a squad that cannot hold it. You will capture it, get ganked within minutes, and lose the cash you invested in the attempt. Wait until you have a Tier 3 squad and a top-tier weapon loadout before you even approach the inner ring, and consider the center flag off-limits until you have already banked two mid-tier flags.
Ignoring Side Flags
Side flags are easy to dismiss because they look out of the way, but they are actually the best defense multiplier you can own. A side flag gives you a quiet income stream that does not attract center-flag traffic, and it gives you a fallback territory if you lose your main mid flag. Solo players in particular should treat side flags as their primary income source because the contest pressure is so much lower.
Spreading Defenders Too Thin
Owning five flags with one squad each sounds powerful, but it collapses the moment a serious raider shows up. Quality beats quantity on the Military Army Tycoon map: three fully staffed flags pay more than five under-defended flags, because the income from a contested flag drops sharply while the defense window is active. Consolidate, hold fewer flags well, and expand only when your reserves can cover the new territory. The full flag capture basics are also covered in the Military Army Tycoon flag guide, which pairs well with the territory focus here.
Forgetting to Reinforce After a Loss
A flag you once owned but lost does not stay contested forever. The fastest way to recover territory is to recapture a lost flag within 60-90 seconds of losing it, before the enemy can fully establish a defense. Most players spend too long regrouping after a loss, and by the time they return, the enemy has rotated two squads onto the flag and the recapture becomes a much harder fight. Set a personal rule: lost flag, immediate counter.
Advanced Territory Strategy for Late-Game Players
Once you have all the basic territory under control, the late-game territory game shifts from "capture more" to "rotate intelligently." The maxed-base community has settled on a few patterns that consistently produce the highest income: cycling troops between three to four adjacent control points to keep capture multipliers stacked, prioritizing flag placement on chokepoint nodes that overlap multiple map regions, and using army surplus from a fully upgraded barracks to re-cap decaying flags every 20-minute server cycle. This rotation cadence typically outperforms static defense by 30-40% in resource throughput once your territory network exceeds 12 connected flags on the military army tycoon map.
| Late-Game Pattern | Connected Flags Required | Re-Cap Frequency | Income Multiplier (approx.) | Army Surplus Source |
|---|---|---|---|---|
| 3-Node Cycling | 9-11 | Every 20 min server cycle | +30% over static | Fully upgraded barracks |
| 4-Node Cycling | 12+ | Every 20 min server cycle | +40% over static | Fully upgraded barracks |
| Chokepoint Stacking | 12+ | Every 25 min | +35% over static | Oil container + pump jack income |
| Static Defense | Any | Never | Baseline 1.0x | N/A |
| Hybrid (2-Node + Chokepoint) | 10-12 | Every 22 min | +32% over static | Partially upgraded barracks |
Flag Cycling for Maximum Income
Instead of holding the same three flags for an entire session, cycle them. Drop a low-tier flag, push a higher-tier flag, hold it for 20 minutes, then rotate again. The reason this works is that a freshly captured high-tier flag often pays a small one-time capture bonus on top of the per-tick income, and cycling lets you stack that bonus multiple times per hour. The risk is that you lose the flags you dropped, but if your base income is already strong, the cycling profit outweighs the loss.
Coordinating with Squad Roles
Late-game players assign specific squad roles to specific flags. One squad is permanently assigned to the center flag as the "crown holder," a second squad rotates between mid flags as the "income backbone," and a third squad stays near the base as the "raid response" reserve. This structure means every flag always has a squad that knows its defense pattern, and the response time to a raid is much faster than a free-for-all rotation. For a deeper look at defending contested flags, the Military Army Tycoon flag defense guide covers the combat side of the same problem.
Territory as a Multiplier on Rebirth
Rebirth resets your base but does not wipe your knowledge of the map, and the most efficient rebirth strategy is to capture the same territory chain in the same order every time. Because the map geography is identical run after run, you can build a muscle-memory expansion path that gets faster with every rebirth, which compounds into more captures per hour and more income per session. Veterans report that the first 30 minutes of a rebirth feel nearly identical if you follow a fixed capture order, and that consistency is the real long-term income engine.
Using Mobile Controls for Fast Rotations
If you play on a phone or tablet, the touch controls change how you rotate between flags. The Military Army Tycoon mobile guide walks through the button layout and group join flow that pairs well with the rapid rotation pattern described above. Mobile players in particular benefit from setting up a fixed route between three flags because the slower movement speed makes rotation planning more important than on PC.
Frequently Asked Questions
How many control points are on the Military Army Tycoon map?
The exact count shifts slightly with patches, but community consensus places around 10-12 capturable control points plus the protected spawn flag, spread across outer, mid, and inner rings with a few side flags in between. The center flag is counted as a single high-value control point, not a cluster.
Which control point pays the most income in Military Army Tycoon?
The center flag is the highest per-tick income source on the map by a wide margin, with the inner ring flags a step below and the mid flags roughly 2x the outer ring. The trade-off is contest pressure: the higher the income, the more often rival squads will raid you off it.
What squad tier do I need to hold a mid-tier control point?
A Tier 2 squad with a mid-tier weapon loadout is the minimum reliable defense for a mid flag, and a Tier 3 squad is what most veterans use once contest traffic picks up. Pushing a mid flag with a Tier 1 squad works for the capture itself but the defense usually collapses within minutes.
Can I lose a control point after I capture it?
Yes. Every captured flag can be contested and flipped by any other player, which is why squad rotation and reserve defenders matter as much as the initial capture. A flag you capture and walk away from is a flag you will probably lose within 10-20 minutes.
What is the best order to capture control points as a new player?
Start with the two outer flags closest to your spawn, then push one mid flag on the side of the map closest to your base, then chain the second mid flag and the first inner flag before attempting the center. This order keeps respawn routes short and lets your income fund each next step.